We are often asked "I really want to start making my own jewellery but I don't know where to start. What do I need?" This section will give you basic information and outline the items that are required. (Click the blue headings below to jump to those sections.) Have fun!
Tools
There are three basic tools that are required for jewellery making:
chain nose pliers : can be used for squishing and sealing your crimp beads (Crimping pliers can also be used)
cutters : for cutting wire and headpins
round nose pliers : used to turn loops to make earrings or dangles.
Stringing Material
Bracelets can be made quickly and easily using beading elastic. We would recommend Elasticity .08 beading elastic. The tying instructions are on the back.
Necklaces are made using beading wire, crimp beads, a clasp and a jump ring. You can also use a toggle clasp instead. We would recommend using Beadalon .012" beading wire.
Crimp Beads, Clasps and Jump Rings
Crimp beads and clasps are required when using beading wire. The crimp bead is what holds the clasp onto the beading wire. You can either use a clasp, such as a lobster clasp, or bolt ring and a jump ring or a toggle clasp to finish your piece.
Headpins
Headpins are using to make earrings and dangles like on charm bracelets.
Ear Wire and Posts
Used to make earrings
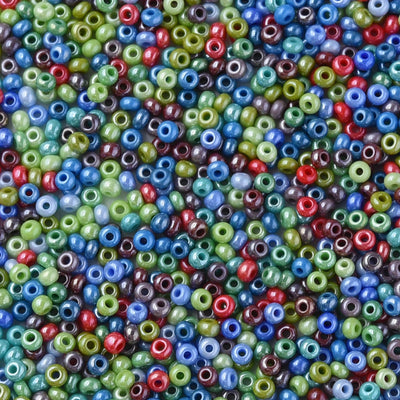
Beads
This bit is up to you but a mix is always a good place to start as you will have a variety of beads to play with. We would also recommend a pack of 100 silver plate round spacer beads.
Books
Books are invaluable learning resources and there are hundreds to choose from. Check out what's available on www.amazon.co.uk
Basic Instructions for Bracelets and Necklaces Using Beading Wire
To make a necklace or bracelet using beading wire, cut the wire the length that you would like but leave about 2" on either end to finish it. As you gain experience, you will not need to leave as much wire on the end. String on your beads. On end end, thread on a crimp bead and then your clasp. The crimp bead is what holds the clasp onto the beading wire. Thread the wire back down through the crimp bead and through some of the beads at the end. Push all the beads up to the crimp bead. Squish the crimp bead with your chain nose pliers. Finish the other end the same way using the other half of the toggle clasp or a jump ring.
Basic Instructions for Earrings
Making earrings is very easy. Take a headpin and thread on your beads. If the headpin is too long, cut off the excess with your cutters. Make sure that you leave yourself enough headpin to turn a loop! Using your round nose pliers, turn a loop in the headpin. Attach the headpin to the loop on the ear wire or post and then close your headpin loop.
0 products
Sorry, there are no products in this collection.
Recently viewed
Sign up and save!
Sign up to our mailing list for discounts and exclusive offers!